Certificate Management
1 min read
Certificates are essential for secure communication between your Android edge devices and enterprise services (e.g., internal Wi-Fi, VPN, or email authentication).This guide explains how to upload and assign security certificates to a profile using the Autonoedge console.
Key Benefits #
- Secure Access Enablement – Provide safe connections to Wi-Fi, VPN, email, or web services.
- Automated Certificate Distribution – Deploy certificates seamlessly across device fleets.
- Enhanced Security – Strengthen both device and network protection through managed certificates.
Step 1 – Uploading Your Certificates #
Autonoedge Cloud #
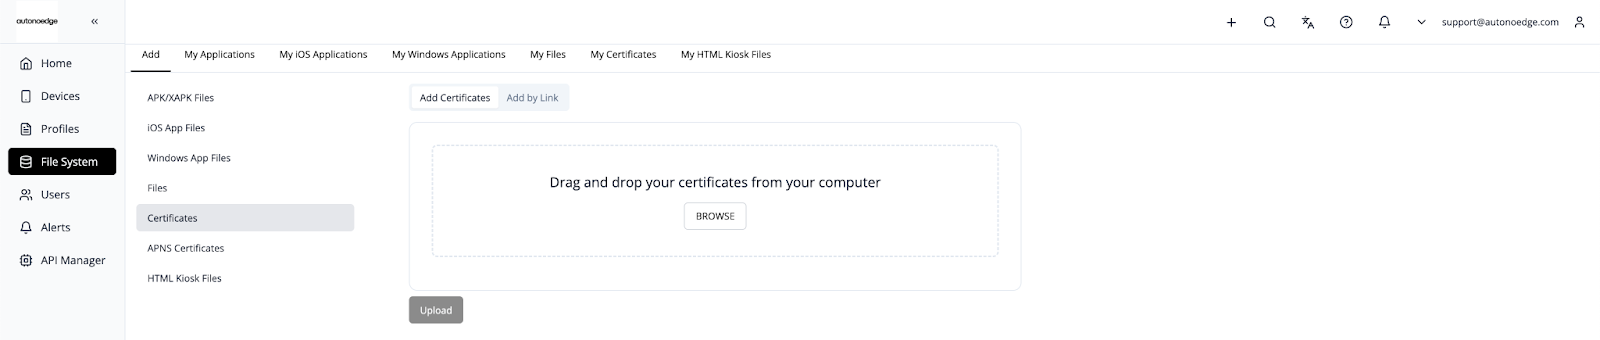
- Navigate to the File System in your console.
- Make sure you are on the Add column and the Wallpaper tab.
- Upload your certificate file by either:
- Dragging and dropping the file into the upload area, or
- Clicking Browse to select the file from your computer.
- Once your file is selected, click Upload to complete the upload.
Hybrid Cloud #
You can also take advantage of our Hybrid Cloud feature, which combines the flexibility of the cloud with the control of on-premise storage — giving you the best of both worlds.
To add an app using a direct link:
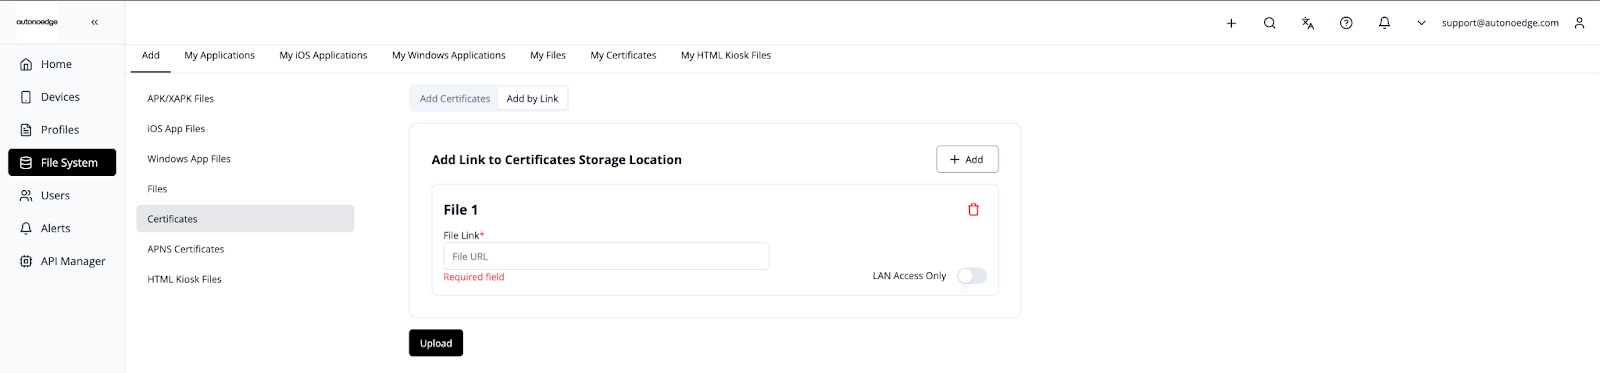
- Navigate to the File System in your console.
- Make sure you are on the Add column and the Certificates tab.
- Switch the toggle to Add by Link.
- Enter your direct download link, for example:
https://192.168.1.1:3000/mycertificate.crt - Click Upload to complete the process.
Please take note if you are using Hybrid cloud:
- The link must directly download the certificate (This should be a valid link that directly starts downloading the file when accessed) — Google Drive or Dropbox links that lead to a download page won’t work unless properly formatted.
- Ensure the server hosting the certificate is reliable and publicly accessible (or accessible by the management console).
Step 2 – Access the Certificates Menu #
- Log in to your Autonoedge console.
- Navigate to the Profiles section from the left-hand menu.
- Click the “Create New Profile +” button and select Android Edge as the device type.
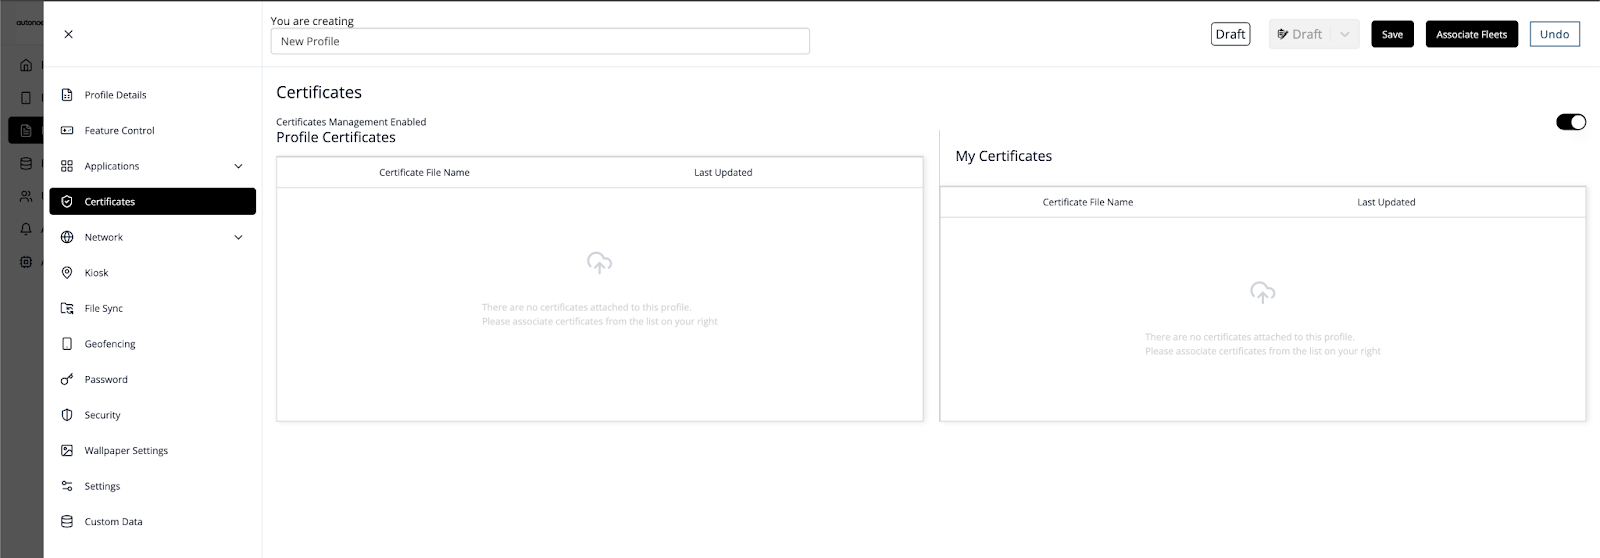
- In the profile sidebar, click Certificates and toggle the Certificates Management Enabled switch to On.
- Find your uploaded certificates and drag it into the Profile Certificates box.
Step 3 – Associate the Profile #
- Once your profile is configured with the desired certificates, associate the profile with the target fleet.
- Once associated, the certificates will be deployed on all devices in that fleet according to the profile settings.
Best Practices & Tips #
- Upload Only Trusted Certificates: Use valid and verified certificate files such as .crt, .p12, or .pem.
- Use Clear Naming Conventions: Name certificates descriptively (e.g., wifi_cert_malaysia_branch.pem) for easier identification.
- Revoke and Replace When Needed: Immediately replace expired or compromised certificates to maintain security.
- Integrate with Profile Policies: Pair certificates with Wi-Fi or VPN settings for automated secure access.
- Keep File Sizes Optimized: Maintain reasonable file sizes to ensure faster syncing across devices.


